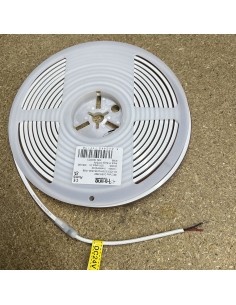
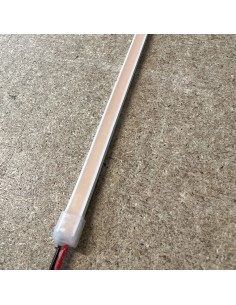
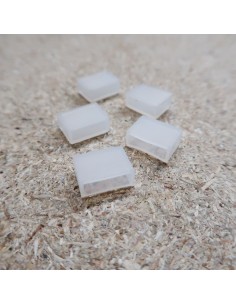
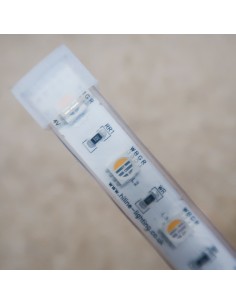
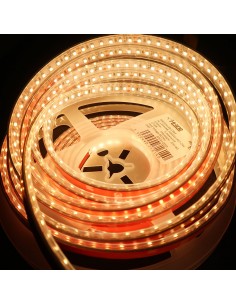
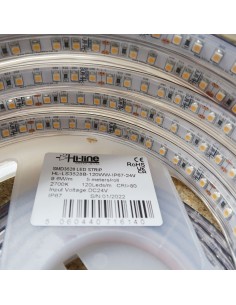
No 3M tape on these sleeves. An IP67 or IP68 LED strip in a silicone sleeve is supplied without double-sided adhesive. A bare reel is not a missing part. Installers often want 3M because it is quick to fit. On this cover, acrylic tape sticks to the wall and lets go of the silicone, which is why the reel is supplied this way. If a red liner is still on the reel, peel it off the whole length you are mounting. It is not the mount. One reel, the 320 LED IP68 COB, is supplied with a red liner that is not 3M brand. Peel that liner too. This note is not for open indoor IP20 or IP00 tape. That tape is made to use the liner on the back.
Why the tape fails on a sleeve
The outer cover is silicone. The red liner on the back is an acrylic tape. Acrylic sticks to paint, tile, aluminium and the back of an open indoor strip. It does not form a proper bond with silicone. It can feel secure on the day it is fitted, then peel as the run warms, takes its own weight, or sits in a damp room. The failure is between the tape and the sleeve, not between the tape and the wall.
Putting another adhesive on the outside of that liner does not repair it. The new adhesive only sticks the liner to the wall. The sleeve can still leave the liner behind.
Cut the strip before you commit the glue
The jacket hides the copper pads, and a liner hides them as well. Find the pads, under a strong light or against a window, before you fix the length. Cut only on a pad. Our separate notes cover the intervals:
Peeling the liner back at one pad is enough when you only need to see the cut and you are leaving the rest of the tape in place. If this run will be glued, peel the liner off the whole length you are mounting.
The adhesive to use
Use a neutral-cure silicone adhesive in a cartridge. The product we specify is DOWSIL 7091, white, 310 ml. It is a Dow adhesive, not a Hi-Line compound. Buy this cartridge for a silicone-sleeve LED strip, or search that name if you are buying it yourself. It is a thick paste, so a bead stays where you put it, and one cartridge is the right size for a wall run.
Do not use a building grab adhesive. Products sold as CT1, Stixall, Gripfill or No More Nails do not bond to this sleeve. Ordinary bathroom silicone is a joint sealer, not the mount for a long run.
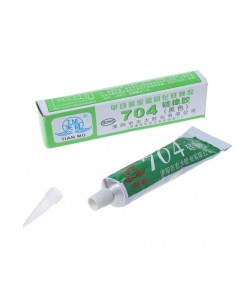
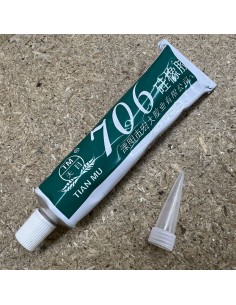
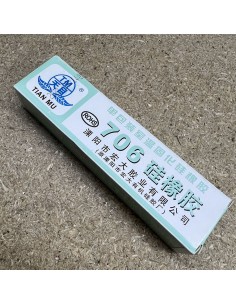
Our 45 g tubes are for the ends, not for metres of wall:
- HL-706TM, clear, for end caps and connectors
- HL-704B, black, the same job where a dark joint is wanted
How to mount the sleeve
- Peel the factory liner off the length you are fixing. Pull off any adhesive left on the silicone.
- Sleeve and surface must be clean and dry. Wipe both with isopropyl alcohol. No dust, oil, wax, soap or loose paint. On concrete, brush the dust off first.
- Lay one thin, continuous bead of 7091 on the back of the sleeve. Not blobs, and not on the LEDs.
- Press the full length on, working along the run so the bead wets both faces.
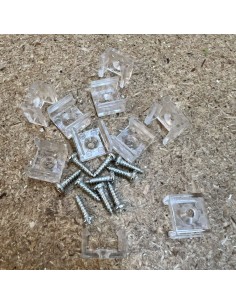
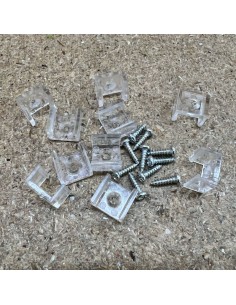
- 7091 holds its shape, but it is not a grab on the first minute. Support the strip until it skins, about 15 to 30 minutes, then leave it 24 hours before any load, washing or weather. Painter’s masking tape across the sleeve every 200 to 300 mm will hold it. Do not use a packing tape that tears the silicone. The matching clips, a temporary batten, or a second person do the same job on a long drop.
- Seal every cut end before the strip is put into service. Fit the end cap for that width with 706 or 704 inside the cap. A 12 mm sleeve uses these 12 mm caps. 7091 can be wiped around the outside of a cap that is already on. It does not replace the cap, and it does not close an open cut by itself.
If the liner will not come off, do not glue onto the face of the tape. Run a bead of 7091 along both long edges so the silicone touches the sleeve and the wall. The tape left in the middle is not doing the holding.
Surfaces
| Surface |
What to do |
| Ceramic or porcelain tile, glass |
Clean and dry. Glue on the tile face, not into the grout. No water for 24 hours. Suitable for a dry bathroom wall, behind a mirror, under a vanity, or splash around a bath. |
| Aluminium, bare metal, painted or enamelled steel |
Degrease. The paint has to be sound. |
| Wood |
Dry. Not freshly oiled or waxed. |
| Concrete or masonry |
Dry, with the dust brushed off. |
| Painted plasterboard |
Only in a dry room, and only if the paint is solid. The paper face can peel off the gypsum. That is a failure of the board, not of the adhesive. |
| Shower, wet room, sauna, ceiling, or a long vertical drop |
Use the clip or an aluminium profile for that strip, screwed into the structure. 7091 can be used with the clips. It is not the only fixing. |
Powder-coated metal and many plastics should be tried on an offcut first. Cheap PVC and polypropylene often will not hold. Do not glue a sleeve straight to bare or damp plasterboard in a bathroom. Tile that wall, or use clips.
Order the clip that matches the strip. The IP68 fixing clip is for the jacket it is listed with. It is not a universal clip for every width.
What we will say, and what we will not
7091 is the correct type of adhesive for a silicone sleeve on tile, glass, metal, dry wood and dry masonry. We recommend it on that basis. We do not promise that a glued run will never let go. On a long, vertical, outdoor, shower or sauna run, fit clips. If a surface does not hold, email [email protected] with the strip reference and what it was fixed to.
Examples of the strips this note applies to are the 12 mm IP67 3528 and the IP68 COB sleeve. Read the product page for the reel you ordered. Width, cut interval and wattage are not the same across the range.
Hi-Line Lighting supplies the products. Installation, sealing and the choice of fixing remain with the installer.